
Hosting a static site in 2024 should be cheap, secure, and fast. The combination of AWS S3, CloudFront, ACM, and Cloudflare DNS gets you all three — at a cost that rounds to zero for most personal or small-team projects. You pay for the domain registration and essentially nothing else.
This article walks through the full setup end to end. Not as a checklist exercise, but as a tour of why each component exists and what breaks when you misconfigure the handoffs between them. The devil in this stack lives at the boundaries.

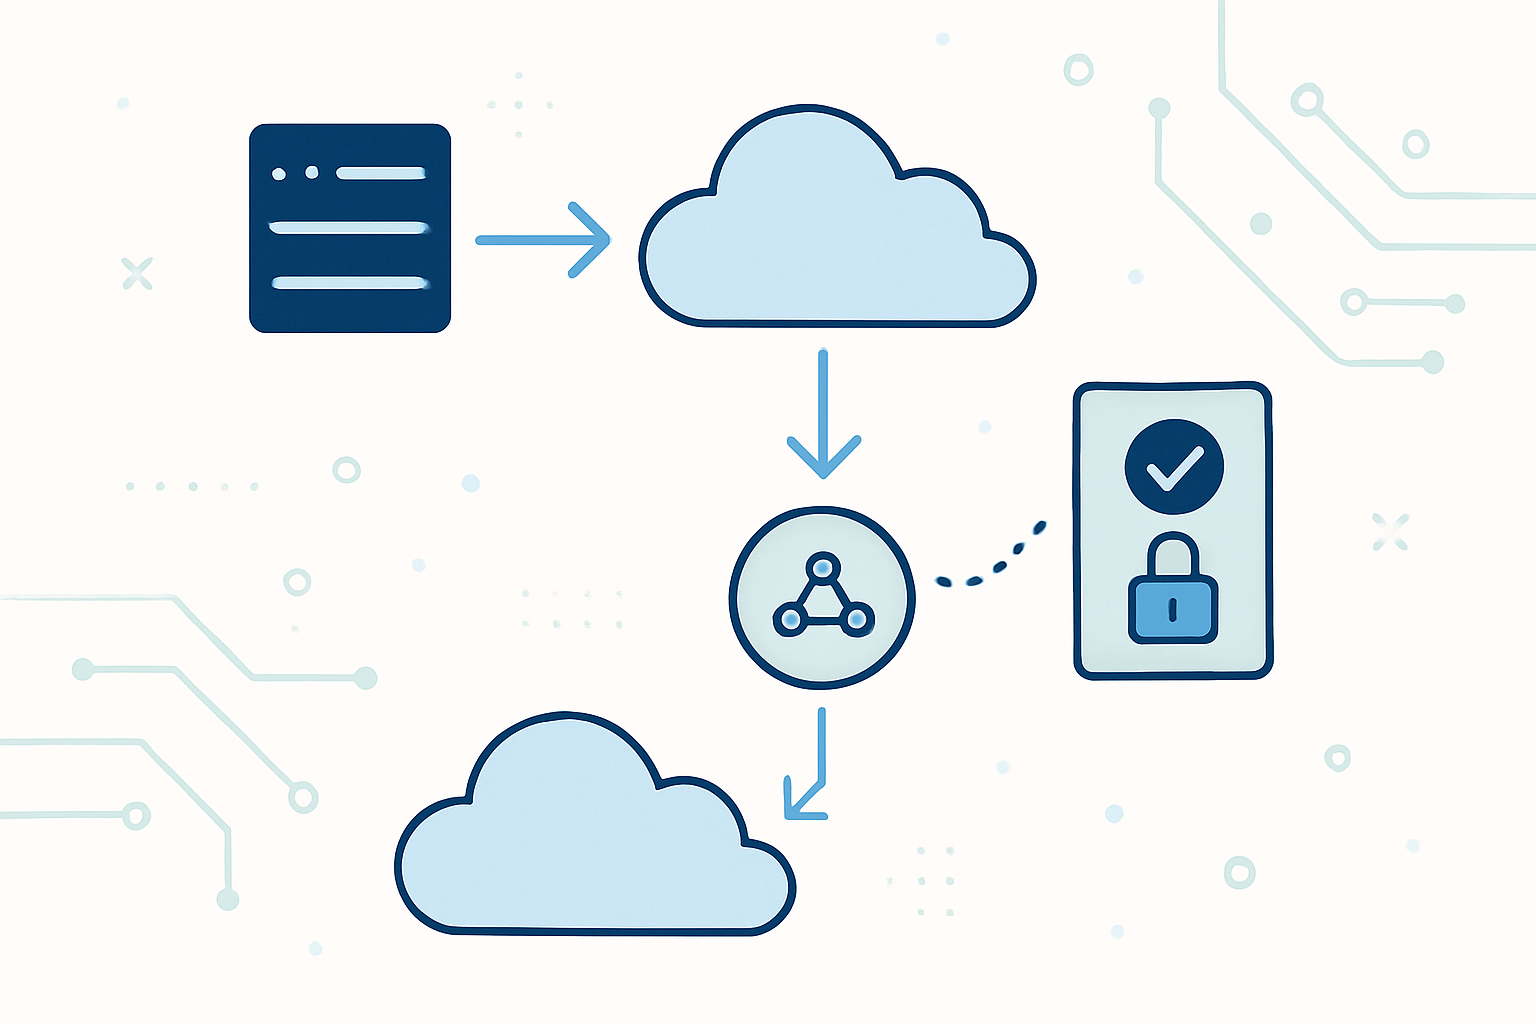
The Architecture at a Glance
Before touching any console, understand what you are building and why each layer is there.
| Layer | Service | Role |
|---|---|---|
| Origin storage | AWS S3 | Holds your static files; never exposed directly to the internet |
| CDN + TLS termination | AWS CloudFront | Serves content globally; terminates HTTPS |
| Certificate authority | AWS ACM | Issues and auto-renews the TLS certificate |
| DNS | Cloudflare | Resolves your domain to CloudFront; acts as registrar |
The traffic path looks like this: a visitor resolves your domain through Cloudflare DNS, which returns the CloudFront distribution domain. CloudFront handles the TLS handshake using an ACM certificate, fetches the requested object from S3 via Origin Access Control (OAC) if it is not cached, and delivers it to the visitor.
S3 has zero public access. No bucket website endpoint, no public ACL, nothing. CloudFront is the only authorized caller, enforced at the IAM policy level through OAC. This matters. Running S3 with a public website endpoint is the older pattern and it leaks your origin — anyone who discovers your bucket URL bypasses CloudFront entirely, including any caching or security headers you configured there.
Step 1: Issue the TLS Certificate in ACM
CloudFront is a global service, but it only reads ACM certificates from one specific region: us-east-1 (N. Virginia). This is not a soft preference. If you request a certificate in ap-northeast-1 or anywhere else, it will not appear in the CloudFront certificate selector. You will sit there confused for twenty minutes before realizing the region mismatch.
Switch your AWS Console region to us-east-1 before you do anything else.
Open ACM and request a public certificate. Enter two domain names:
yourdomain.com
*.yourdomain.com
The wildcard covers www and any other subdomain you add later without needing to reissue. Use DNS validation — it is more reliable than email validation and ACM will auto-renew as long as the CNAME record stays in place.
Key algorithm: RSA 2048 is fine for most use cases. ECDSA P-256 is faster and smaller but less universally supported across very old clients. For a portfolio or product site, either works.
After submitting the request, ACM will give you a CNAME record to add to your DNS. It looks something like this:
Name:   _a1b2c3d4e5f6.yourdomain.com
Type:   CNAME
Value:  _xyz123abc.acm-validations.aws.
Do not close this page yet. You need those values in the next step.
Takumi's Take: ACM certificate auto-renewal depends entirely on that validation CNAME surviving. I have seen teams rotate DNS providers years after initial setup and quietly delete the ACM validation record during the migration. Everything looks fine until the certificate hits its renewal window and silently fails. Put the validation record in your infrastructure-as-code or at minimum document it somewhere obvious.
Step 2: Add the ACM Validation CNAME in Cloudflare
Open Cloudflare, navigate to your domain, then DNS > Records. Add a new record:
| Field | Value |
|---|---|
| Type | CNAME |
| Name | The subdomain portion of the CNAME name ACM gave you (strip the root domain) |
| Target | The full .acm-validations.aws. value |
| Proxy status | DNS only (grey cloud) |
The proxy status is critical. When Cloudflare proxies a record (orange cloud), it intercepts the DNS resolution and routes traffic through Cloudflare's network. ACM's validation mechanism sends an HTTP request directly to the hostname in the CNAME chain. Cloudflare's proxy wraps that in its own TLS, and ACM cannot verify the certificate it is trying to issue. The validation times out.
Set it to grey. DNS only. ACM validation typically completes within a few minutes to half an hour.
Step 3: Create the S3 Bucket
Create a new S3 bucket. The name does not need to match your domain name — that was a requirement of the older S3 website hosting pattern. With CloudFront + OAC, the bucket name is irrelevant to routing.
Configuration:
- Block all public access: enabled (leave the default)
- ACLs: disabled
- Versioning: your choice, but for a static site it adds little value
- Static website hosting: leave disabled
That last point surprises people. You do not need S3's built-in static website hosting feature enabled. That feature generates a separate HTTP-only endpoint (bucket-name.s3-website-region.amazonaws.com). CloudFront with OAC connects directly to the S3 REST API endpoint, not the website endpoint. Disabling static website hosting is the right call here — it removes one more publicly accessible surface.
Once the bucket exists, upload a minimal index.html to confirm the pipeline works end to end:
<!DOCTYPE html>
<html lang="en">
<head>
  <meta charset="UTF-8">
  <meta name="viewport" content="width=device-width, initial-scale=1.0">
  <title>My Site</title>
</head>
<body>
  <h1>Coming soon.</h1>
</body>
</html>
Do not make this file public. Leave all permissions at default. CloudFront will fetch it through OAC once that is wired up.
Step 4: Create the CloudFront Distribution
Open CloudFront and create a new distribution. The key settings:
- Origin domain: select your S3 bucket from the browser (use the REST endpoint, not the website endpoint)
- Origin access: choose “Origin access control settings (recommended)” and create a new OAC for the bucket
- Viewer protocol policy: Redirect HTTP to HTTPS
- Default root object: `index.html`
- Web Application Firewall: disable it unless you need it. WAF costs roughly $14/month at minimum — a meaningful charge for a site that otherwise runs nearly free.
After creating the distribution, CloudFront will display a banner prompting you to update the S3 bucket policy. Copy the generated policy and apply it to your bucket under Permissions > Bucket policy. It looks like this:
{
  "Version": "2012-10-17",
  "Statement": [
    {
      "Sid": "AllowCloudFrontServicePrincipal",
      "Effect": "Allow",
      "Principal": {
        "Service": "cloudfront.amazonaws.com"
      },
      "Action": "s3:GetObject",
      "Resource": "arn:aws:s3:::your-bucket-name/*",
      "Condition": {
        "StringEquals": {
          "AWS:SourceArn": "arn:aws:cloudfront::YOUR_ACCOUNT_ID:distribution/YOUR_DISTRIBUTION_ID"
        }
      }
    }
  ]
}
This policy grants s3:GetObject only to the specific CloudFront distribution via the service principal. The SourceArn condition is the important part — it pins the permission to your distribution, not to all CloudFront distributions globally. Without that condition, any CloudFront distribution in any AWS account could read your bucket.
Next, add your custom domains. In the distribution settings, add both yourdomain.com and www.yourdomain.com as alternate domain names (CNAMEs). Select the ACM certificate you issued earlier. It will appear in the dropdown only if you created it in us-east-1.
Note the distribution domain name — it will look like d1234abcd.cloudfront.net. You need this for the DNS step.
Step 5: Point Cloudflare DNS at CloudFront
Back in Cloudflare DNS, add two CNAME records pointing your domain to CloudFront:
| Type | Name | Target | Proxy status |
|---|---|---|---|
| CNAME | @ | d1234abcd.cloudfront.net | DNS only |
| CNAME | www | d1234abcd.cloudfront.net | DNS only |
Both records must be DNS only, grey cloud. Here is the reasoning: Cloudflare's proxy (orange cloud) terminates TLS at Cloudflare's edge and re-originates a connection to whatever the CNAME points to. CloudFront also terminates TLS at its edge. If you proxy through Cloudflare, you end up with two layers of CDN, two TLS handshakes, and Cloudflare presenting its own certificate to visitors rather than the ACM certificate you configured. Cache behavior becomes unpredictable and debugging becomes a headache.
When you run Cloudflare DNS only, Cloudflare simply resolves the CNAME to CloudFront's IP addresses. CloudFront handles everything from there.
There are legitimate reasons to use Cloudflare's proxy in front of CloudFront — Cloudflare's bot management, rate limiting rules, or specific WAF features that you prefer over AWS WAF. But that requires deliberate configuration: using a Cloudflare Origin Certificate on CloudFront, setting SSL mode to Full (Strict), and accepting the added complexity. It is not a default setup. If you do not have a specific reason for double-proxying, do not do it.
Step 6: Verify the Full Stack
DNS propagation from Cloudflare is usually fast — under a minute for most regions. Global propagation can take longer but rarely exceeds fifteen minutes.
Test your setup:
# Check that DNS resolves to CloudFront
dig yourdomain.com CNAME +short
# Should return something like d1234abcd.cloudfront.net

# Verify the TLS certificate
curl -I https://yourdomain.com
# Look for: HTTP/2 200 and server: CloudFront

# Check the certificate details
openssl s_client -connect yourdomain.com:443 -servername yourdomain.com 2>/dev/null | openssl x509 -noout -issuer -subject -dates
If the site returns a 403, the most common cause is the S3 bucket policy not being applied correctly. Double-check that the SourceArn in the bucket policy matches your distribution ARN exactly. A single character mismatch silently breaks authorization.
If you get a CloudFront error page rather than your HTML, verify that the default root object is set to index.html in the distribution settings. CloudFront does not automatically serve index.html for path requests the way a traditional web server does. Without a default root object configured, a request to / returns a 403 or 404 from S3 because there is no object literally named /.
Cost Reality Check
For a low-traffic static site, this stack runs essentially free:
| Service | Typical monthly cost |
|---|---|
| ACM | Free |
| S3 storage (under 5 GB) | Under $0.15 |
| S3 GET requests (via CloudFront) | Negligible — CloudFront caches aggressively |
| CloudFront (first 1 TB transfer free) | Free for most personal sites |
| Cloudflare DNS (free plan) | Free |
The only real cost is domain registration, which you would pay regardless of hosting setup. This makes the architecture genuinely viable for anything from a personal portfolio to a small product landing page.
Scale it up and the math changes. A high-traffic site will eventually leave the free tier on CloudFront and S3 egress. At that point you need to decide whether CloudFront's pricing beats alternatives like Cloudflare Pages or Netlify, which include generous free bandwidth on their own CDNs. For anything under a few million requests per month, the differences are small.
What This Pattern Does Not Cover
Single-page applications with client-side routing need one more piece: a CloudFront custom error response. When a visitor navigates directly to https://yourdomain.com/about, CloudFront looks for an S3 object at the path /about. That object does not exist, so S3 returns a 403 or 404. CloudFront passes that error back to the visitor.
Fix it by adding a custom error response in the CloudFront distribution:
- HTTP error code: 403 (and separately, 404)
- Response page path: `/index.html`
- HTTP response code: 200
This forces CloudFront to serve index.html for any error, letting the client-side router take over. It is a common gotcha when moving from a traditional site to a React, Vue, or Svelte SPA.
Server-side rendering is out of scope for this pattern entirely. If your site needs SSR — dynamic content, per-request personalization, database reads — then S3 plus CloudFront is not your origin. You would front a Lambda function URL, an ECS service, or an EC2 instance with CloudFront instead. The DNS and ACM configuration remain identical; only the origin changes.
A Note on Infrastructure as Code
Everything described above can be provisioned through the AWS Console, and that is fine for learning the system. For anything you intend to maintain or replicate, codify it. A minimal Terraform configuration for this stack is around 150 lines — the S3 bucket, the bucket policy, the CloudFront distribution, the ACM certificate request, and the Route 53 or Cloudflare DNS records if you use the Cloudflare Terraform provider.
The Cloudflare Terraform provider (cloudflare/cloudflare) supports DNS records natively. Combining it with the AWS provider in one Terraform root means a single terraform apply provisions your entire stack — certificate, bucket, distribution, and DNS records — in the correct dependency order.
The bootstrap problem: you cannot provision the ACM certificate and the CloudFront distribution in a single apply without Terraform being able to pause and wait for certificate validation. Terraform's aws_acm_certificate_validation resource handles this. It blocks the apply until ACM confirms validation, then the certificate ARN becomes available for the distribution resource. This is one of the cleaner dependency resolution patterns in the AWS Terraform provider.
If you are already using Pulumi or AWS CDK, the pattern maps directly. The component graph is the same regardless of the IaC tool.
Closing Thought
This stack has been stable and production-viable for several years. What keeps changing is the security posture around S3 origins. The shift from OAI (Origin Access Identity) to OAC (Origin Access Control) happened in late 2022, and OAI is now deprecated for new distributions. If you are maintaining an older setup that still uses OAI, migration to OAC is straightforward and removes a service-level dependency on a legacy feature. The permission model is cleaner under OAC — you express intent through IAM policy conditions rather than a special CloudFront principal type that AWS is phasing out.
The question worth sitting with is not whether this stack is the right choice today, but how much of your static site actually needs to be static. Edge compute — CloudFront Functions, Lambda@Edge, Cloudflare Workers — makes the line between static and dynamic increasingly blurry. A site that looks static can run meaningful personalization logic at the edge with zero origin requests for most paths. That is the direction the architecture is evolving toward.